
Touhou Koumakyou New Classic Difficulty Guide
Five story densities, one Extra stage, and a Challenge Mode that teaches patterns without unlocking Flandre.
Easy
Easy is the classroom, not a joke difficulty. Spell lists are trimmed, density is honest, and you still have to stream Cirno and bomb on purpose. Play Easy if focused movement still overshoots, if you have never captured a spell, or if you bounced off a later Touhou and need the 2002 ruleset with New Classic’s visible hitbox. A no-bomb Rumia and a no-continue Easy clear are better teachers than a Challenge Mode Lunatic that dies 80 times on Meiling.
Easy does not unlock Extra. Finish the lesson, then move.
Normal
Normal is the default Extra key. Clear all six stages without continuing and Extra Stage appears. Density is the real game: Meiling kicks, Patchouli’s four-card Normal list, Sakuya as a wall, Remilia as a resource check. First-clear shot picks—Reimu A or Marisa A—are aimed at this difficulty. If you can 1CC Normal, you understand bombs, power, and Stage 5 well enough to start Extra practice.
Continues on Normal still let you see Remilia. They do not count. The Extra gate is a single credit.
Hard
Hard adds cards and fill. Patchouli goes to five spells. Treat Hard as Lunatic’s waiting room: same habits, more punishment for bottom-hugging. If Normal 1CC is a coin flip, Hard will only hide whether Stage 5 or Remilia is the leak.
Lunatic
Lunatic is the densest story mode. Extra aimed pieces, faster knives, last cards that exist to spend leftover lives. Rank on Lunatic is a survival question; see shot type rankings for why Marisa B’s Spark sits in S. A Lunatic 1CC is a Normal 1CC plus Spell Practice on the cards that actually end you, usually Sakuya and Remilia.
Internal rank still exists: surviving, grazing, and collecting push the engine slightly harder. Dying eases it. That is a reason a clean first half can feel nastier on Stage 6, not a reason to die on purpose.
Extra
Extra is not Lunatic Stage 7. It is a separate stage with its own resource table. Unlock it with a Normal-or-higher no-continue. You cannot continue inside Extra. Score extends (10, 20, 40, 60 million) do not apply; you get a couple of life items on the route and whatever you brought. Patchouli returns as midboss. Flandre is the boss. Homing is a matchup problem. Damage is a clock.
Play Extra on Marisa A or Reimu B unless you have a reason. Route the stage on the Extra guide, not from a story-mode habit of bombing the first midboss for fun.
Challenge Mode and Spell Practice
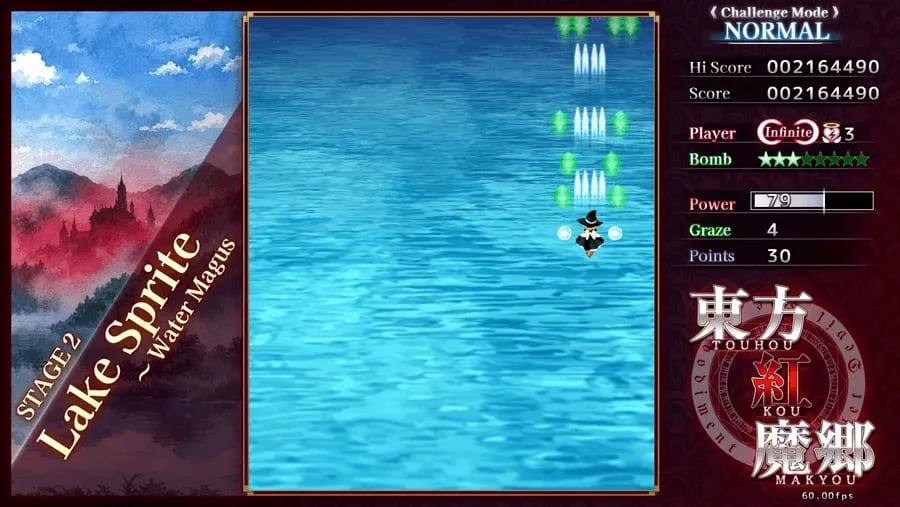
Challenge Mode is unlimited lives plus a death counter. Use it when a full fight is the problem: Stage 4 as a structure, Stage 5 as a stamina test, Remilia as a sequence. The counter is the lesson. If you take 40 deaths to see Remilia, you are not ready to spend real credits there. Challenge Mode does not replace Extra unlock. Unlimited lives never test the continue rule the Extra gate cares about.
Spell Practice is for a named card you have already seen. Unlock by encountering the spell, then drill Forest Blaze, a Sakuya knife ring, or a Flandre taboo without replaying three stages. Spell Practice will not teach item height or mid-stage waves. Use both tools. Use neither as a substitute for a limited-life Normal credit.
New Classic’s visible hitbox belongs on Easy and Challenge Mode first. Once you trust the point, play unfocused on purpose so Lunatic streaming still exists.
Resource rules
You start a credit with three lives and three bombs (two extra lives in stock). Extra lives in the six-stage game arrive at 10, 20, 40, and 60 million. Extra Stage does not use those thresholds. A death drops power by 16 (you can recover most of it if you grab the dropped items) and restocks bombs toward three. Power caps at 128; shot strength steps up at 8, 16, 32, 48, 64, 80, 96, and 128. Full power enables auto-collect at the top of the field.
Point items are worth more the higher you catch them. Graze adds a small score and a stage-end bonus. Spell bonuses decay with time and vanish if you bomb or die on the card. None of that matters until you can 1CC; all of it matters if you open the scoring column on the rankings page.
Deathbomb timing is tight. Plan the bomb on the spell name. Do not bank on an eight-frame miracle, especially on Reimu B.
Unlock path
- Map shot, bomb, and focus. Visible hitbox on focus in New Classic; Classic hides it.
- Clear Easy on Reimu A or Marisa A until Cirno’s ice shotgun is boring.
- Clear Normal with continues if you only want to see Remilia.
- 1CC Normal (no continue) to unlock Extra.
- Spell Practice Patchouli’s card for your letter, then Sakuya, then Remilia.
- Extra on Marisa A or Reimu B. Challenge Mode the stage until the death counter is small, then spend limited-life Extra credits.
- Hard, then Lunatic, only after Extra is no longer a mystery.
The Extra gate sits on a specific rung: Normal, one credit, no continue.
Frequently Asked Questions
Quick answers about New Classic, Classic, shot types, and Extra Stage.
Does Easy unlock Extra Stage?
No. You need a Normal-or-higher clear with no continue. Easy is for learning movement and bombs.
Does Challenge Mode unlock Extra?
Treat it as a classroom, not the gate. Extra cares about a no-continue credit on limited lives. Unlimited lives plus a death counter will not teach that constraint.
What are the extra life scores?
10, 20, 40, and 60 million in the six-stage game. Extra Stage does not use score extends; it hands a couple of life items on the route instead.
Which difficulty should I 1CC first?
Normal. It unlocks Extra and is the first list with the real boss spell counts. Then Extra, then Hard, then Lunatic.
When do I use Spell Practice versus Challenge Mode?
Spell Practice for a named card you have seen. Challenge Mode for a full fight or stage you have not structured. Neither replaces a limited-life Normal credit.
Which shot should I use on each difficulty?
Easy/Normal first clear: Reimu A or Marisa A. Extra: Marisa A or Reimu B. Lunatic 1CC: Marisa B is the comfort S. Tables: shot type rankings.